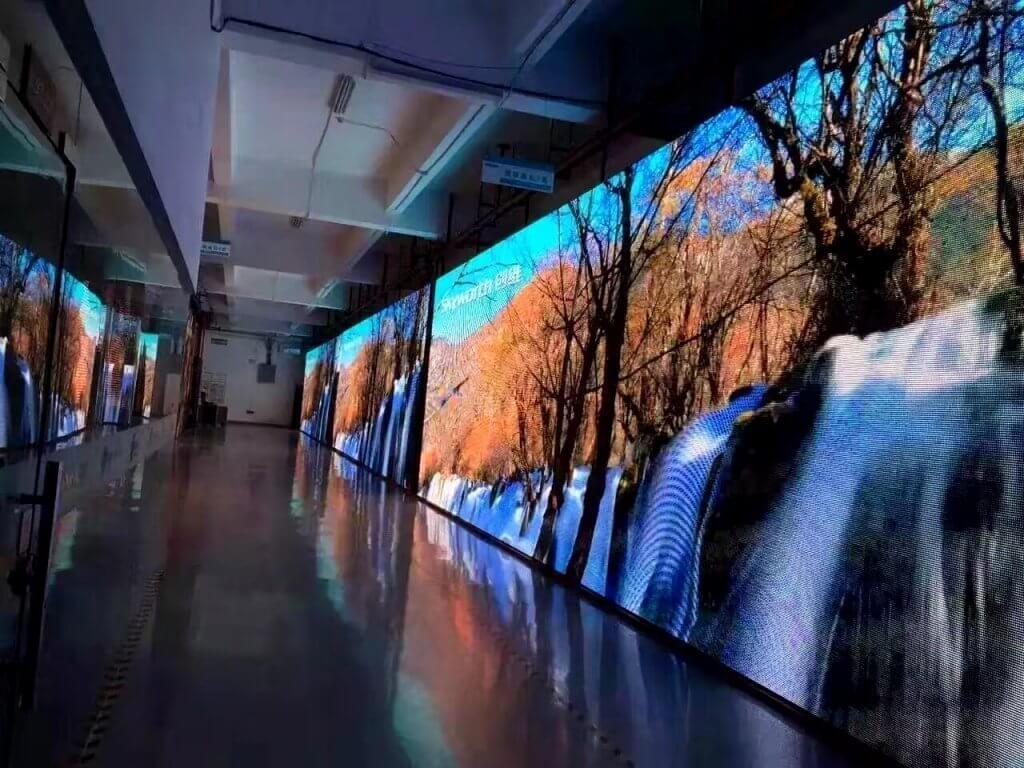
LED display aging knowledge, what is LED aging test?
The aging of LED displays is an essential step in the production process of LED displays, as well as a detection link in the production and testing of LED displays, which is an important guarantee of the quality of LED electronic display products. The LED aging test is a very important link in product quality control. LED products can improve their performance after aging, and contribute to the stability of performance in later use. Below is to introduce LED display aging knowledge, what is the LED aging test?
What is the LED aging test?
LED lighting products have become commonplace in today’s society. With 75 percent less energy consumption and 10 times longer life than halogen bulbs, it’s no surprise that most Australians are moving towards a more energy-efficient route. But what makes these devices more reliable and future-oriented than traditional devices? Well, there are many reasons, but today we are going to focus on the quality assurance aspect of the manufacturing process, especially the LED aging test.
When LED products fail, the problem usually stems from the welding process (incorrect welding temperature, prolonged welding time) or the quality of the LED itself.
So what is the LED aging test? It is essentially a reliability test to determine whether LED products meet Australian standards. LED products also benefit from this rigorous testing because it enhances the performance and stability of the product itself.
The following is a general breakdown of standard LED aging tests:
1. Put the LED products on the aging rack.
2. These products are then connected to a burn-in machine to test all components of the product, not just the LED components.
3. Testing is done by exposing the product to different levels of voltage (170-258V) and short pulses of high voltage current at each stage.
4. Repeat 8-10 times at each stage.
5. The product must pass all stages to pass the test
6. The LED product is then used as a sample unit to test the life of the product, with experts checking the product every 1000 hours until the light goes out.
7. During these hours, the selected LED products will be exposed to 3 voltage tests (low, medium, and high) from which the experts will collect data and report their findings.
8. Experts will also carry out temperature tests. For example, if the LED on the PCB is below 75°C, the LED on the PCB passes, while the LED on the flexible strip must be below 70°C.
9. All defective products, whether the color temperature is not correct, LED burn, or flicker will be marked. If the failure rate exceeds 1%, production will be stopped and the project will be evaluated.
10. Experts then separate the LED components from the rest of the product and conduct separate tests on each part of the product to find the problem.
11. After identifying and resolving problems, assemble the product and perform a test to ensure it meets the requirements.
Pay attention to the LED display aging test
1, test content: white screen, red, green, blue monochrome, gray gradient, video effect, text effect
2, led display white screen test time is not less than 24 hours
3, monochrome, gray gradient test is not less than 24 hours
4, video, text effect test is not less than 24 hours
5, LED display aging test must be on duty, found problems reported to the engineering manager for treatment.